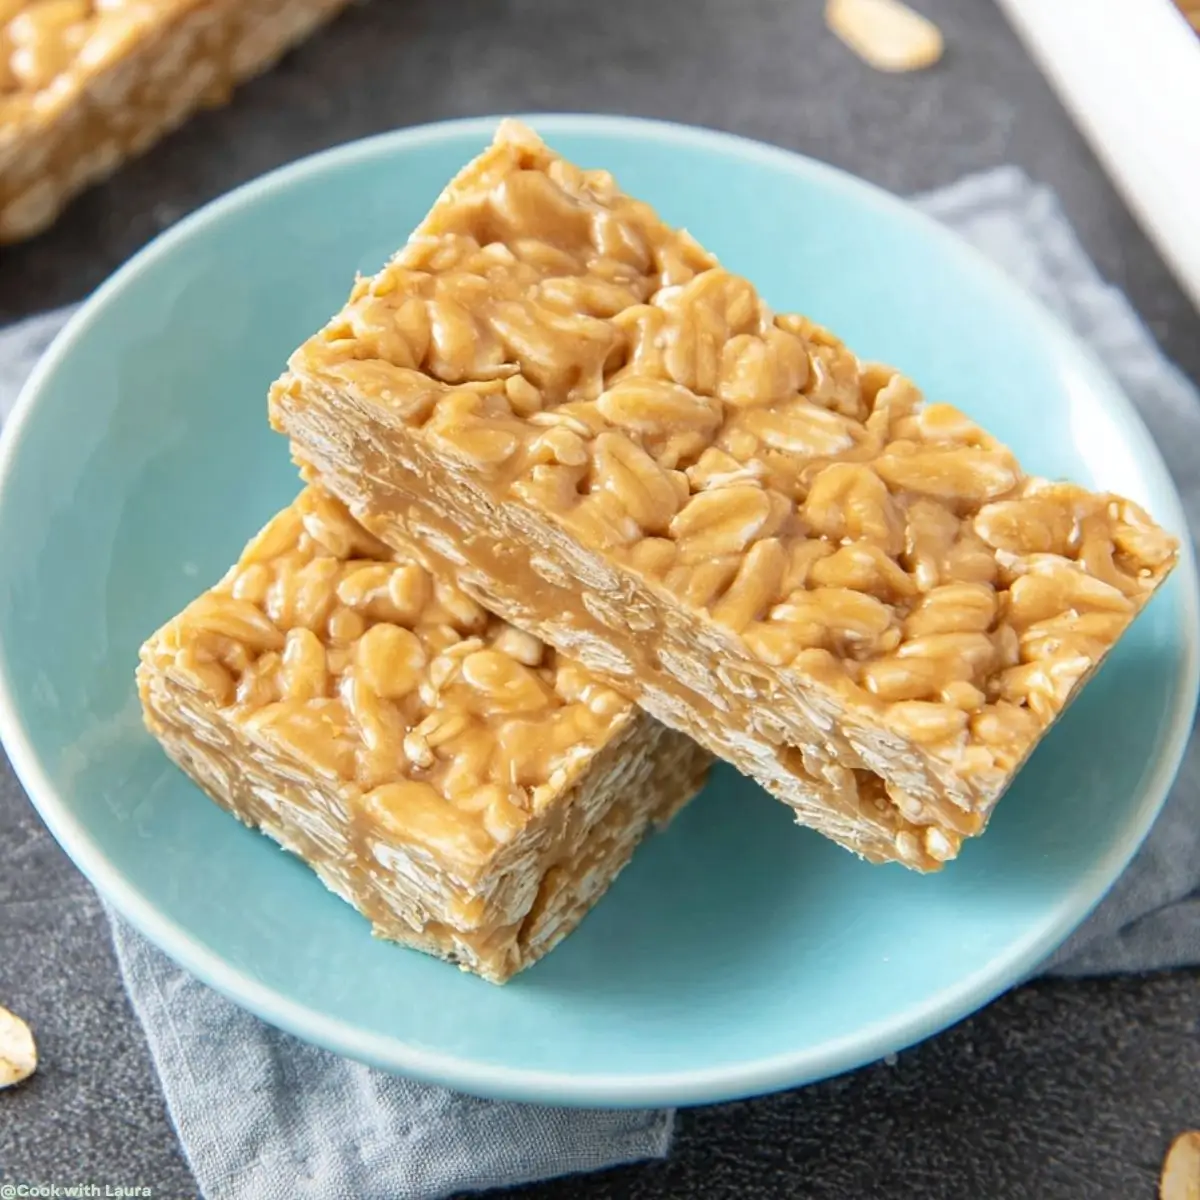
When the afternoon hunger hits, having a wholesome snack ready to grab can be a lifesaver. These No Bake Peanut Butter Granola Bars are chewy, satisfying, and packed with nutty flavor—perfect for school lunches, post-workout fuel, or a quick on-the-go bite.
With just a few pantry staples, you can make a batch of homemade granola bars that are healthier (and tastier!) than store-bought versions. And if you’re a peanut butter lover, you’ll also want to try my indulgent Crumbl Reese’s peanut butter cup cookies for a fun dessert twist.
Why You’ll Love This No Bake Peanut Butter Granola Bars
- They come together in just 10 minutes, making them a perfect quick energy bar.
- No baking means less mess and more time for what really matters.
- These bars are packed with wholesome ingredients, ensuring a healthy snack option.
- Kid-friendly and customizable, they’re sure to please even the pickiest eaters.
- Great for meal prep, you can make a batch and enjoy them all week!

Easy No Bake Peanut Butter Granola Bars
- Total Time: 35 minutes
- Yield: 18 bars
- Diet: Gluten Free
Description
A simple and healthy recipe for no bake peanut butter granola bars that are perfect for a quick snack or breakfast.
Ingredients
- 1 cup smooth peanut butter
- ½ cup pure maple syrup
- 2 ½ cups gluten free rolled oats
Instructions
- Line an 8-inch square baking pan with parchment paper or wax paper. Set aside.
- In a medium, microwave-safe bowl, add peanut butter and maple syrup. Whisk together until well mixed. Heat in 20-second increments in the microwave until warm, fragrant, and bubbles begin to form, whisking in between increments.
- Add oats to the peanut butter mixture. Using a rubber spatula, stir and fold until thoroughly combined.
- Pour this mixture into the prepared baking pan. Using the rubber spatula, smooth into an even, tightly packed layer.
- Freeze for 25-35 minutes, or until firm and completely chilled. Slice into 18 bars or release bars from granola bar pan.
Notes
- Stovetop instructions: Heat peanut butter and maple syrup in a saucepan over low heat until warm and combined.
- Store bars in an airtight container in the refrigerator for up to a week.
- Prep Time: 10 minutes
- Cook Time: 0 minutes
- Category: Snack
- Method: No Bake
- Cuisine: American
Ingredients for No Bake Peanut Butter Granola Bars
Gathering the right ingredients is key to making these delightful No Bake Peanut Butter Granola Bars. Here’s what you’ll need:
- Smooth Peanut Butter: This creamy base adds richness and protein. You can use natural peanut butter for a healthier option.
- Pure Maple Syrup: A natural sweetener that brings a lovely flavor. Honey can be a great substitute if you prefer.
- Gluten-Free Rolled Oats: These provide the chewy texture and are a fantastic source of fiber. If gluten isn’t a concern, regular oats work just as well.
Feel free to get creative! You can add ingredients like chocolate chips, dried fruits, or nuts for extra flavor and texture. Just remember, the exact quantities for these ingredients are listed at the bottom of the article for your convenience. Happy snacking!

How to Make No Bake Peanut Butter Granola Bars
Making these No Bake Peanut Butter Granola Bars is a breeze! Follow these simple steps, and you’ll have a delicious snack ready in no time. Let’s dive in!
Step 1: Prepare Your Baking Pan
Start by lining an 8-inch square baking pan with parchment paper or wax paper. This makes it super easy to lift the bars out later. Just leave some overhang on the sides; it’s like a little handle for easy removal. Trust me, this small step saves a lot of hassle!
Step 2: Mix Peanut Butter and Maple Syrup
In a medium, microwave-safe bowl, combine your smooth peanut butter and pure maple syrup. Whisk them together until they’re well mixed. Then, pop the bowl in the microwave. Heat it in 20-second increments, whisking in between. You want it warm and fragrant, with bubbles starting to form. This step is crucial for that creamy texture!
Step 3: Combine with Oats
Now, it’s time to add the gluten-free rolled oats to your peanut butter mixture. Using a rubber spatula, gently stir and fold until everything is thoroughly combined. You want every oat to be coated in that delicious peanut butter goodness. It’s like a warm hug for your taste buds!
Step 4: Transfer to Baking Pan
Pour the mixture into your prepared baking pan. Using the rubber spatula, smooth it out into an even layer. Press it down firmly to ensure it’s tightly packed. This helps the bars hold their shape once they’re chilled. You want them to be sturdy, not crumbly!
Step 5: Chill and Slice
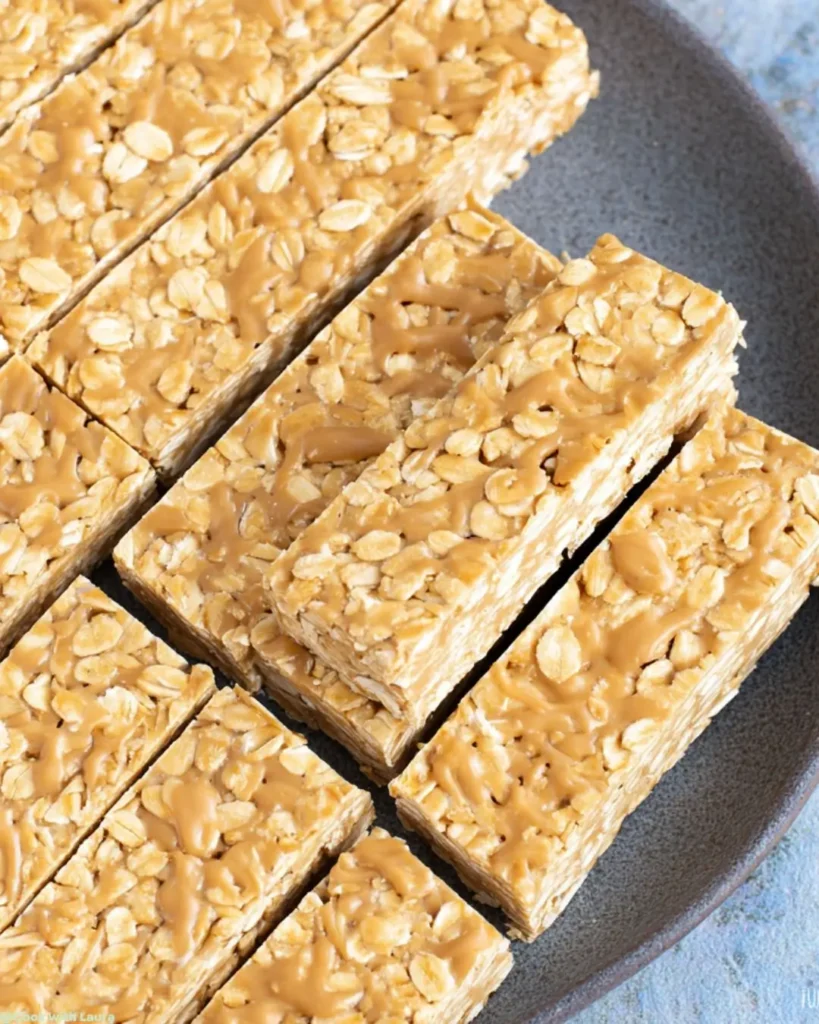
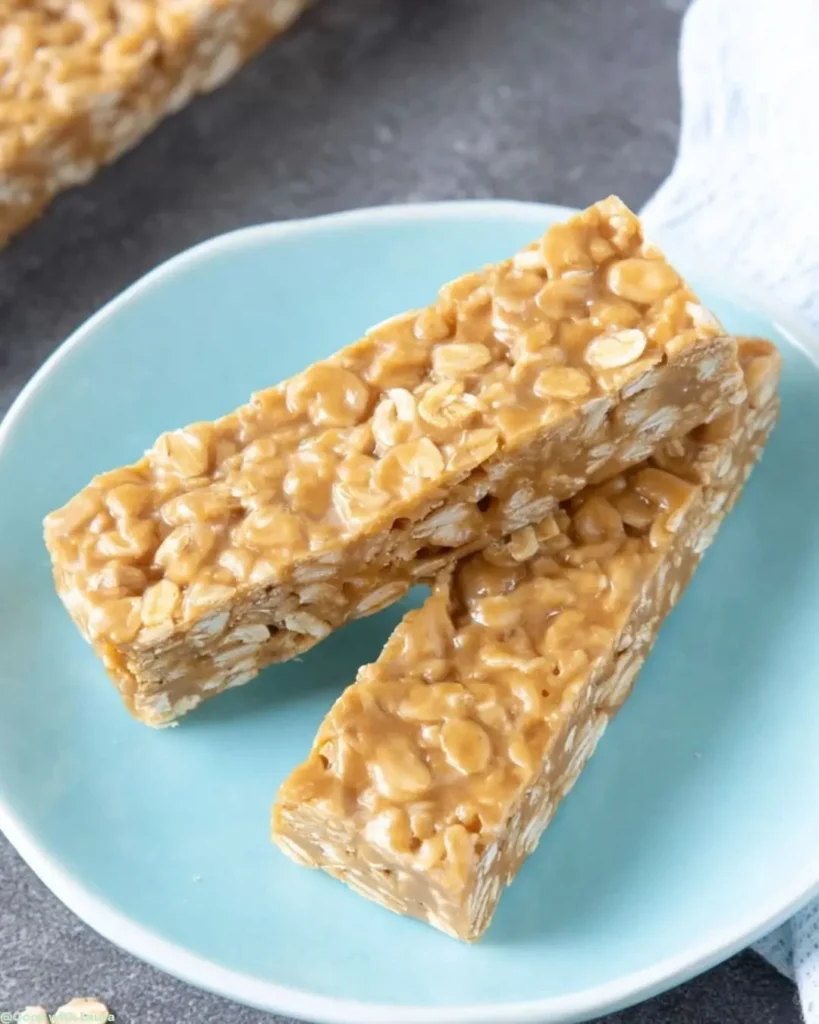
Now comes the hard part—waiting! Place the pan in the freezer for 25-35 minutes, or until the mixture is firm and completely chilled. Once they’re set, lift the bars out using the parchment overhang. Slice them into 18 bars, and voilà! You’ve got yourself some chewy no-bake snack bars ready to enjoy!

Tips for Success
- Make sure your peanut butter is at room temperature for easier mixing.
- Use a rubber spatula to ensure every bit of the mixture is combined well.
- For a fun twist, add chocolate chips or dried fruit to the oat mixture.
- Store the bars in an airtight container in the fridge to keep them fresh.
- Experiment with different nut butters for unique flavors!
Equipment Needed
- 8-inch Square Baking Pan: A standard size for these bars. You can also use a similar-sized dish if needed.
- Microwave-Safe Bowl: Essential for melting the peanut butter and syrup. A regular mixing bowl works too.
- Rubber Spatula: Perfect for mixing and smoothing. A wooden spoon can be a good alternative.
- Parchment or Wax Paper: Helps with easy removal. If you don’t have any, lightly greasing the pan works.
Variations To Try
- Chocolate Chip Delight: Stir in some mini chocolate chips for a sweet twist that kids will love.
- Nutty Banana: Add mashed ripe banana to the mixture for a fruity flavor and extra moisture.
- Seed Power: Mix in chia seeds or flaxseeds for added nutrition and a delightful crunch.
- Spiced Pumpkin: Incorporate pumpkin puree and a dash of cinnamon for a seasonal treat.
- Trail Mix Bars: Toss in your favorite nuts, seeds, and dried fruits for a hearty, energy-packed snack.
Serving Suggestions
- Pair these bars with a glass of cold almond milk for a refreshing snack.
- Serve alongside fresh fruit like apple slices or banana for a balanced treat.
- For a fun presentation, cut the bars into fun shapes using cookie cutters.
- Wrap them in colorful parchment for a delightful lunchbox surprise.
FAQs about No Bake Peanut Butter Granola Bars
Can I make these bars nut-free?
Absolutely! You can substitute the peanut butter with sun butter or soy nut butter. This way, you’ll have a delicious, nut-free version of these healthy peanut butter bars that everyone can enjoy.
How long do these homemade granola bars last?
When stored in an airtight container in the refrigerator, these chewy no-bake snack bars can last up to a week. They’re perfect for meal prep, so you can make a batch and enjoy them throughout the week
Can I freeze these oat and peanut butter bars?
Yes! These bars freeze beautifully. Just wrap them individually in plastic wrap or foil, then place them in a freezer-safe bag. They’ll be ready for a quick energy boost whenever you need it!
Are these bars suitable for kids?
Definitely! These kid-friendly granola snacks are not only tasty but also packed with nutrients. They make a great school-safe snack bars option that kids will love.
What can I add to customize my bars?
The possibilities are endless! You can mix in chocolate chips, dried fruits, or even seeds for added crunch. Get creative and make these natural peanut butter bars your own!
Conclusion
These no bake peanut butter granola bars prove that healthy snacking doesn’t have to be complicated. With minimal prep and simple ingredients, you can whip up a snack that both kids and adults will love.
For more peanut butter goodness, check out my fudgy peanut butter brownie swirl cookies or my cozy peanut butter chocolate chip banana bread. Each recipe is an easy way to add more nutty flavor to your kitchen.
So roll up your sleeves, make a batch, and enjoy every chewy bite. Did you enjoy this recipe? Save it on Pinterest so you can find it easily, and subscribe to my newsletter for weekly quick and delicious recipes!
