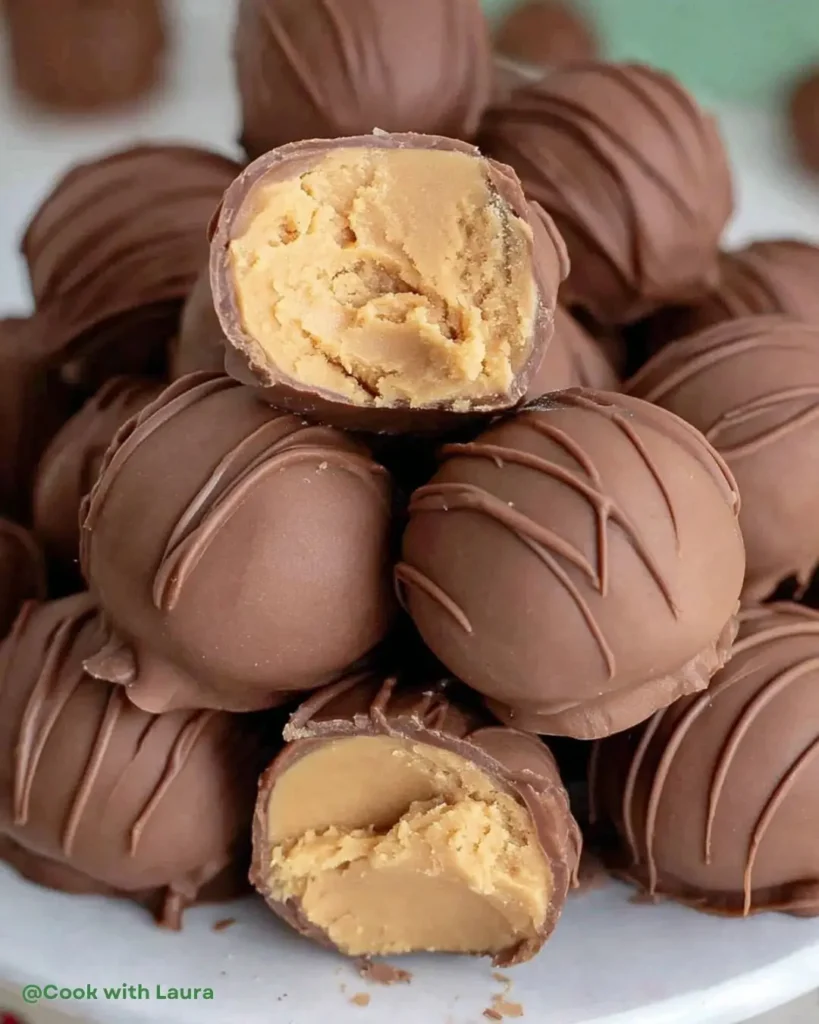
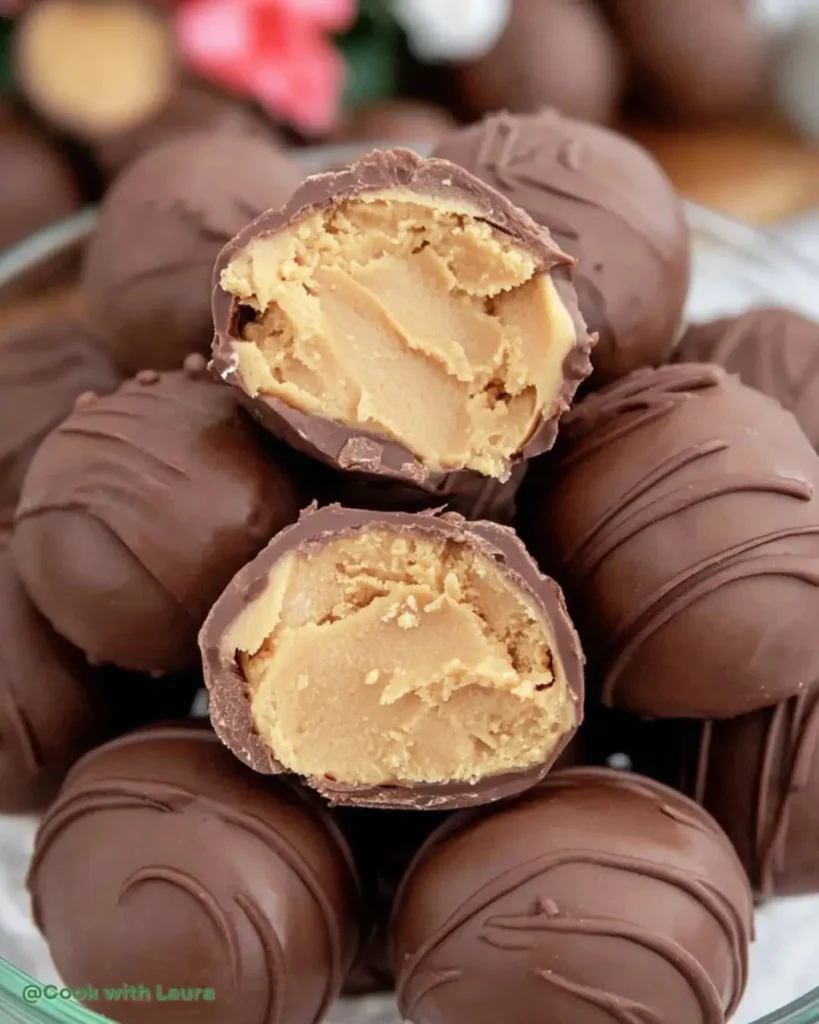
Peanut butter balls are one of the easiest no-bake desserts you’ll ever make—creamy, chocolate-coated, and ready in minutes. With just 4 simple ingredients, this recipe transforms pantry staples into a treat that’s both nostalgic and irresistible.
They’re perfect for holiday platters, after-school snacks, or whenever you’re craving a little sweetness without turning on the oven. In my kitchen, these no-bake peanut butter balls have become a staple right alongside my oatmeal peanut butter energy bites when I need something quick, easy, and satisfying.
Why You’ll Love This Peanut Butter Balls
- Quick and easy to make, perfect for busy days.
- Requires no baking, saving you time and effort.
- Rich, creamy flavor that satisfies your sweet tooth.
- Great for kids and adults alike—everyone loves them!
- Versatile enough for parties, snacks, or a sweet treat after dinner.

Easy Peanut Butter Balls Recipe
- Total Time: 2 hours 25 minutes (including refrigeration time)
- Yield: Approximately 24 peanut butter balls
- Diet: Vegetarian
Description
A simple and delicious recipe for peanut butter balls coated in chocolate, perfect for quick treats.
Ingredients
- 1 cup creamy peanut butter – avoid the natural peanut butter with oils
- 6 tbsp unsalted butter – softened
- 2 cups powdered sugar
- 16 oz chocolate bark
Instructions
- In a medium sized bowl, mix together the peanut butter and butter until creamy.
- Slowly mix the powdered sugar into the peanut butter and continue to mix until well combined.
- Cover the peanut butter ball mixture in a small bowl and refrigerate for a few hours.
- Once ready, scoop 1 inch sized balls, roll them to shape and place them on a cookie sheet.
- Place the cookie sheet into the freezer while you melt the chocolate.
- Using the double boiler method, place a heat safe bowl on top of a saucepan filled with water and turn the heat to boil.
- Place the chocolate bark into the bowl and stir until completely melted.
- Remove the peanut butter balls from the freezer and begin dipping by sticking a toothpick into the ball.
- Dip into the chocolate and tap your wrist a few times to release some of the drippage.
- Drop the coated balls onto a sheet of wax paper and allow the chocolate to harden.
- Once hardened, place the balls into a container and store either on the counter or in the refrigerator.
Notes
- Ensure to use creamy peanut butter without added oils for the best texture.
- These treats can be stored at room temperature or in the refrigerator.
- Prep Time: 15 minutes
- Cook Time: 10 minutes
- Category: Dessert
- Method: No-bake
- Cuisine: American
Ingredients for Peanut Butter Balls
Gathering the right ingredients is the first step to creating these delightful Peanut Butter Balls. Here’s what you’ll need:
- Creamy Peanut Butter: This is the star of the show! Choose a creamy variety without added oils for the best texture. It gives the balls that rich, smooth flavor we all love.
- Unsalted Butter: Softened butter adds a lovely creaminess to the mixture. It helps bind everything together and enhances the overall taste.
- Powdered Sugar: This sweet ingredient is essential for achieving that perfect sweetness and smooth consistency. It blends easily into the mixture, making it a breeze to work with.
- Chocolate Bark: For coating, chocolate bark is a fantastic choice. It melts smoothly and hardens beautifully, creating a delicious shell around the peanut butter filling.

Feel free to get creative! You can add a pinch of salt for a sweet-salty twist or even a splash of vanilla extract for extra flavor. If you’re looking for a healthier option, consider using dark chocolate instead of chocolate bark. The exact measurements for these ingredients are at the bottom of the article, ready for you to print out and take to the kitchen!
How to Make Peanut Butter Balls
Now that you have your ingredients ready, let’s dive into the fun part—making these delicious Peanut Butter Balls! Follow these simple steps, and you’ll have a batch of treats that will impress everyone.
Step 1: Mix Peanut Butter and Butter
Start by grabbing a medium-sized bowl. Add your creamy peanut butter and softened unsalted butter. Using a spatula or a hand mixer, blend them together until the mixture is smooth and creamy. This step is crucial! Using creamy peanut butter without added oils ensures a perfect texture. You want it to be velvety, not runny.
Step 2: Add Powdered Sugar
Next, it’s time to sweeten things up! Gradually add the powdered sugar to your peanut butter mixture. I like to do this in batches to avoid a sugary cloud. Mix until everything is well combined. The texture should be thick and slightly sticky, making it easy to shape into balls later.
Step 3: Refrigerate the Mixture
Once your mixture is ready, cover the bowl with plastic wrap and pop it into the refrigerator. Let it chill for at least a couple of hours. This step is essential! Chilling firms up the mixture, making it easier to scoop and shape into balls. Trust me; it’s worth the wait!
Step 4: Shape the Balls
After the mixture has chilled, it’s time to get your hands a little messy! Scoop out about one inch of the mixture and roll it into a ball. I find that using a small cookie scoop works wonders for uniformity. Keeping the balls the same size ensures even coating later on. Place them on a cookie sheet lined with parchment paper.
Step 5: Freeze Before Dipping
Now, here’s a little secret: before you dip those balls in chocolate, freeze them for about 15-20 minutes. This step is crucial! Freezing helps the balls hold their shape when you dip them in the warm chocolate. Plus, it makes the whole process a lot easier.
Step 6: Melt the Chocolate
While your peanut butter balls are chilling, it’s time to melt the chocolate. Set up a double boiler by placing a heat-safe bowl over a saucepan filled with simmering water. Add the chocolate bark to the bowl and stir gently until it’s completely melted and smooth. This method prevents the chocolate from burning, ensuring a silky coating.
Step 7: Dip the Balls
Now comes the fun part! Remove the peanut butter balls from the freezer. Using a toothpick, dip each ball into the melted chocolate. Make sure to coat it evenly. After dipping, gently tap your wrist to let any excess chocolate drip off. This little trick helps avoid messy drips!
Step 8: Allow to Harden
Finally, place the coated balls on a sheet of wax paper. Let them sit until the chocolate hardens. This usually takes about 30 minutes. Once they’re set, you can store your Peanut Butter Balls in a container. They can be kept at room temperature or in the refrigerator, depending on your preference. Enjoy your delicious creations!

Tips for Success
- Use a cookie scoop for uniform ball sizes, ensuring even coating.
- Chill the mixture thoroughly; it makes shaping and dipping much easier.
- Don’t rush the melting process; slow and steady chocolate is key.
- Experiment with toppings like crushed nuts or sprinkles for added flair.
- Store in an airtight container to keep them fresh and delicious.
Equipment Needed
- Medium-sized mixing bowl – a large mixing bowl works too!
- Spatula or hand mixer – a wooden spoon can do the job as well.
- Cookie sheet – any flat baking tray will suffice.
- Parchment or wax paper – aluminum foil can be used in a pinch.
- Double boiler or heat-safe bowl – a microwave-safe bowl is an alternative for melting chocolate.
Variations To Try
- Dark Chocolate Coating: Swap out the chocolate bark for dark chocolate for a richer flavor and a touch of sophistication.
- Nutty Additions: Mix in chopped nuts like almonds or walnuts for added crunch and flavor.
- Protein Boost: Add a scoop of your favorite protein powder to the peanut butter mixture for a nutritious twist.
- Flavor Infusions: Stir in a teaspoon of vanilla extract or a pinch of cinnamon for a delightful flavor enhancement.
- Nut Butter Variations: Experiment with different nut butters like almond or cashew for a unique taste.
- Mini Peanut Butter Balls: Make smaller versions for bite-sized treats that are perfect for parties or snacks.
Serving Suggestions
- Pair with a glass of cold milk for a classic combination that kids adore.
- Serve alongside fresh fruit like apple slices or banana halves for a balanced snack.
- Present on a colorful platter for parties, adding a sprinkle of crushed nuts on top for flair.
- Enjoy as a post-workout treat with a protein shake for a satisfying boost.
- Wrap individually in cellophane for a delightful homemade gift or party favor.
FAQs about Peanut Butter Balls
As you embark on your journey to make these delightful Peanut Butter Balls, you might have a few questions. Here are some common queries I’ve encountered, along with helpful answers to guide you along the way.
Can I use natural peanut butter for this recipe?
While you can use natural peanut butter, I recommend sticking to creamy peanut butter without added oils. This ensures a smoother texture and better consistency for your Peanut Butter Balls.
How long do Peanut Butter Balls last?
These treats can last up to a week at room temperature or even longer in the refrigerator. Just make sure to store them in an airtight container to keep them fresh and delicious!
Can I freeze Peanut Butter Balls?
Absolutely! You can freeze them for up to three months. Just make sure to layer them with parchment paper in an airtight container to prevent sticking. Thaw them in the fridge before enjoying!
What can I use instead of chocolate bark?
If you prefer, you can use chocolate chips or melting chocolate. Just remember to adjust the melting method slightly, as chocolate chips may require a bit more care to avoid burning.
Are there any nut-free alternatives?
Yes! You can substitute peanut butter with sun butter or soy nut butter for a nut-free version. Just keep in mind that the flavor will vary slightly, but they’ll still be delicious!
Conclusion
Making peanut butter balls is more than just putting together a dessert—it’s about creating a little joy in every bite. The creamy peanut butter center paired with smooth chocolate makes these treats disappear faster than you can make them.
If you’re looking for more peanut butter inspiration, try my easy peanut butter bread for a cozy snack or my peanut butter mousse for an elegant no-bake dessert.
This recipe has been tested and loved in my home, and I know it will quickly become one of your favorites too. Did you enjoy these peanut butter balls? Save the recipe on Pinterest so you can find it anytime, or subscribe to my newsletter for weekly sweet and savory recipes delivered straight to your inbox.
