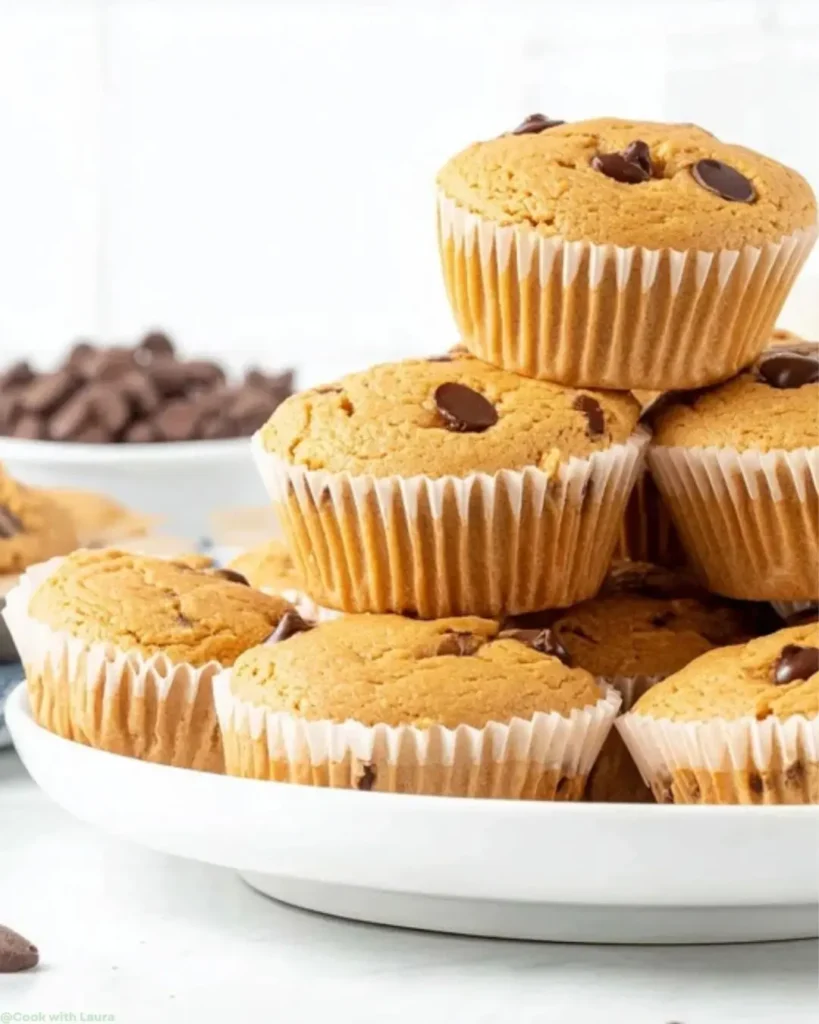
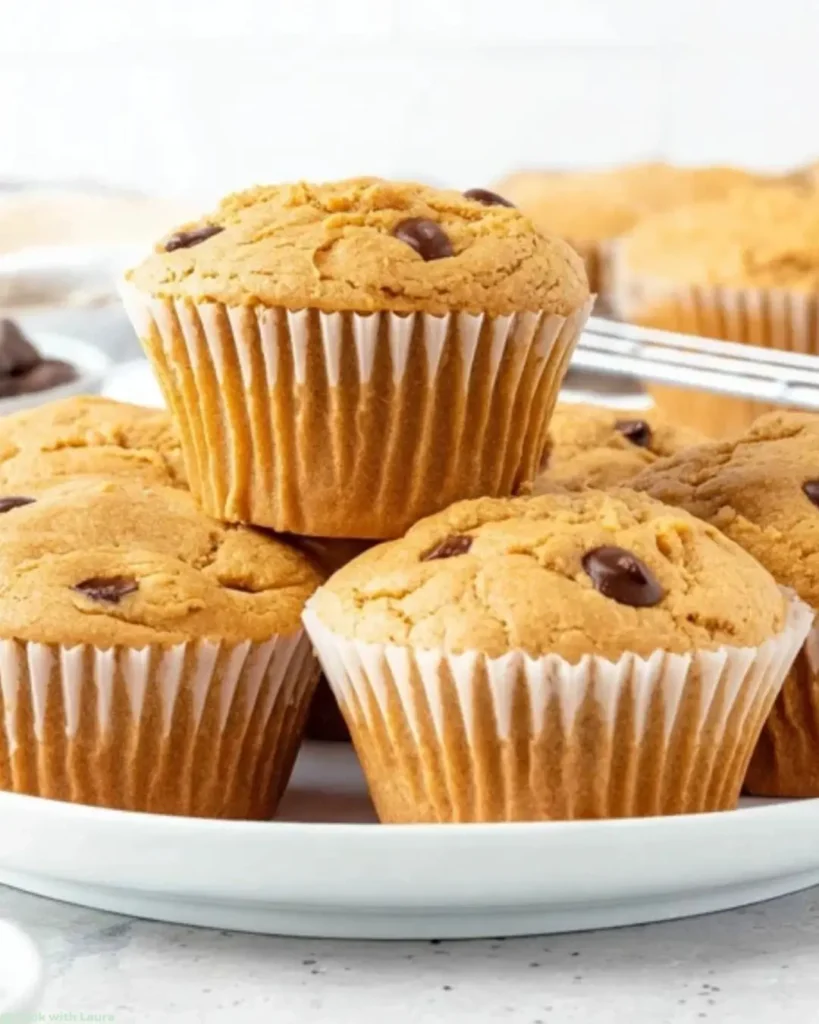
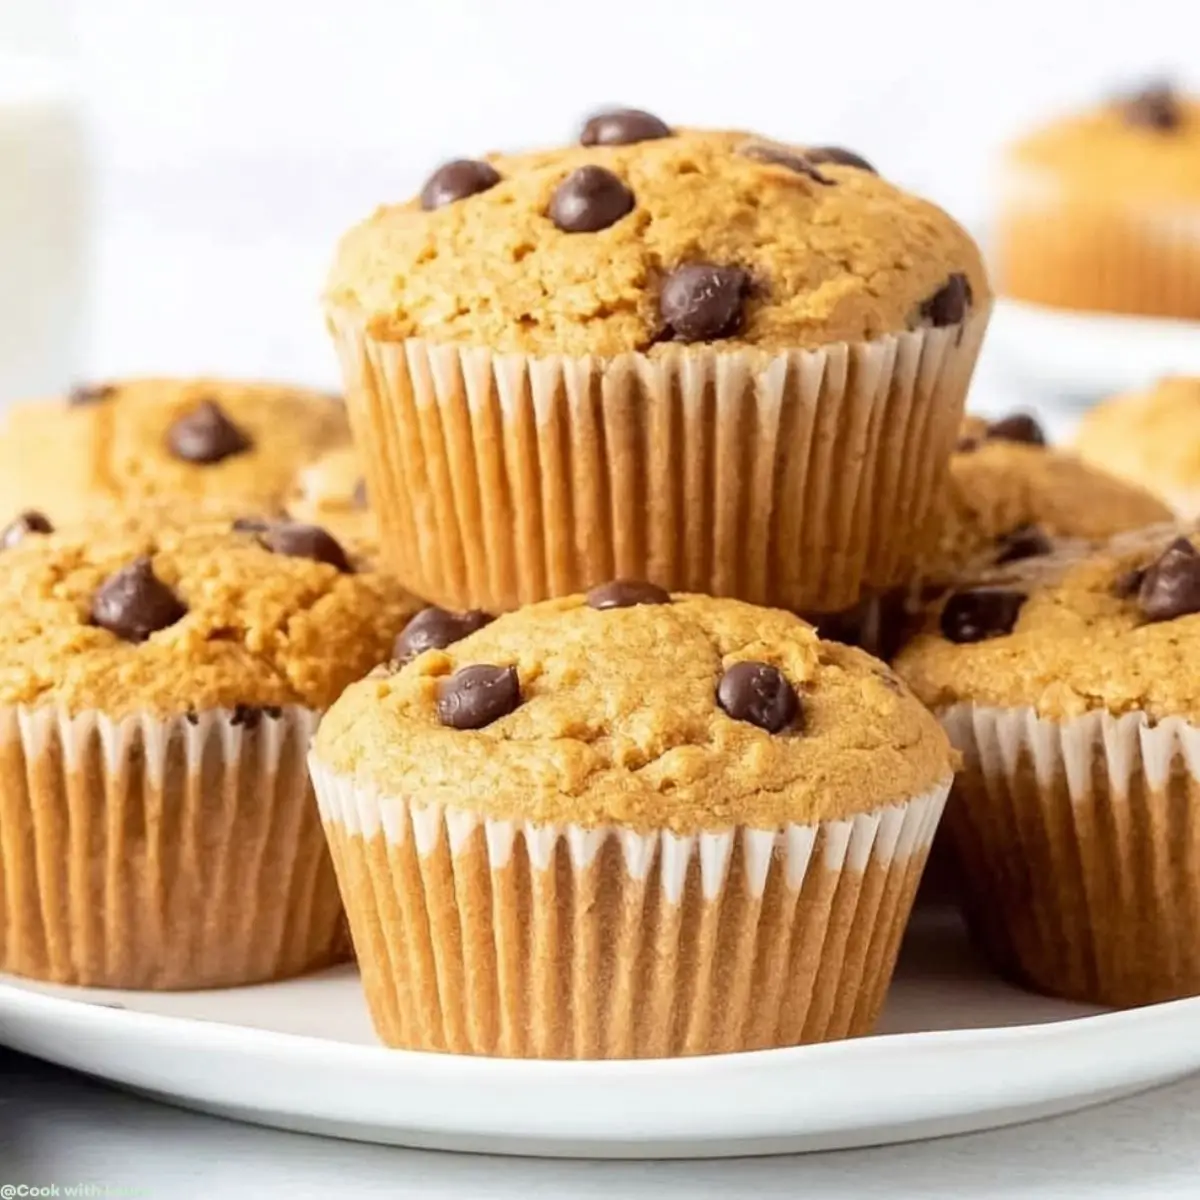
Craving a quick and satisfying breakfast? These Peanut Butter Muffins are fluffy, flavorful, and ready in no time! With their rich nutty taste and soft, tender crumb, they’re perfect for busy mornings, school snacks, or a cozy weekend treat. Imagine warm muffins fresh from the oven, filling your kitchen with that irresistible peanut butter aroma—pure comfort in every bite.
They pair beautifully with a hearty soup, like my easy loaded baked potato soup, for the ultimate comfort meal. Whether you’re a peanut butter lover or just need a new go-to muffin recipe, this one’s bound to become a family favorite!
Why You’ll Love This Peanut Butter Muffins
- Quick and easy to make, perfect for busy mornings.
- Fluffy peanut butter muffins that melt in your mouth.
- Great for meal prep; they stay fresh for days.
- Customizable with chocolate chips or nuts for added flavor.
- A nutty breakfast idea that satisfies both kids and adults.

Easy Peanut Butter Muffins Recipe You’ll Love
- Total Time: 33 minutes
- Yield: 12-14 muffins
- Diet: Vegetarian
Description
A delicious and easy recipe for fluffy peanut butter muffins, perfect for peanut butter lovers and a nutty breakfast idea.
Ingredients
- 1 3/4 cups all-purpose flour (219 grams)
- 2 teaspoons baking powder
- 1/4 teaspoon salt
- 1/2 cup vegetable oil (120 ml) or canola
- 3/4 cup light brown sugar (158 grams)
- 3/4 cup peanut butter, do not use natural
- 2 large eggs, room temperature
- 2 teaspoons vanilla extract
- 1 cup buttermilk (240 ml), room temperature
- 1 cup chocolate chips (180 grams)
Instructions
- Preheat the oven to 375F (190C) degrees. Line a regular-sized muffin pan with muffin papers (you’ll end up with 12-14 muffins total).
- In a large bowl whisk together the flour, baking powder and salt. Set aside.
- In a separate large bowl whisk together the oil, brown sugar and peanut butter. I recommend warming up the peanut butter for 30 seconds on medium power in the microwave first.
- Whisk the eggs, vanilla and buttermilk into the oil mixture until smooth.
- Make a well in the middle of the dry ingredients and pour the wet ingredients into the bowl. Gently fold the mixture together. If there are lots of lumps of flour, whisk by hand using a wire whisk to remove the lumps.
- Gently fold in about 3/4 cup chocolate chips (save the remaining 1/4 cup for later).
- Spoon the batter into the prepared muffin pan, filling each about 3/4 full (you’ll end up with 12-14 muffins total). Add a few extra chocolate chips to the top of each unbaked muffin.
- Bake for 16-18 minutes in the middle of the preheated oven, or until an inserted toothpick comes out clean (except for the melted chocolate chips).
- Cool muffins in the pan for about 10 minutes, then carefully transfer to a wire rack to continue cooling.
Notes
- For best results, use room temperature ingredients.
- Do not use natural peanut butter as it may affect the texture of the muffins.
- Store leftovers in an airtight container for up to 3 days.
- Prep Time: 15 minutes
- Cook Time: 18 minutes
- Category: Breakfast
- Method: Baking
- Cuisine: American
Ingredients for Peanut Butter Muffins
Gathering the right ingredients is key to making these delightful peanut butter muffins. Here’s what you’ll need:
- All-purpose flour: This is the base of your muffins, giving them structure and fluffiness.
- Baking powder: This leavening agent helps the muffins rise, making them light and airy.
- Salt: Just a pinch enhances the flavors and balances the sweetness.
- Vegetable or canola oil: These oils keep the muffins moist and tender. You can also use melted butter for a richer flavor.
- Light brown sugar: This adds sweetness and a hint of caramel flavor, making your muffins irresistible.
- Peanut butter: The star of the show! Use creamy peanut butter for a smooth texture. Avoid natural peanut butter, as it can alter the muffins’ consistency.
- Large eggs: Eggs provide moisture and help bind the ingredients together, creating a lovely crumb.
- Vanilla extract: A splash of vanilla adds warmth and depth to the flavor profile.
- Buttermilk: This ingredient keeps the muffins moist and adds a slight tang. If you don’t have buttermilk, you can make a quick substitute by mixing milk with a splash of vinegar.
- Chocolate chips: These are optional but highly recommended! They add a delightful sweetness and a touch of decadence to your muffins.

For exact measurements, check the bottom of the article where you can find everything listed for easy printing. Happy baking!
How to Make Peanut Butter Muffins
Making these fluffy peanut butter muffins is a breeze! Follow these simple steps, and you’ll have a delicious batch ready in no time. Let’s dive in!
Step 1: Preheat the Oven
First things first, preheat your oven to 375°F (190°C). This step is crucial because it ensures your muffins bake evenly. While the oven heats up, line a regular-sized muffin pan with muffin papers. This will make it easy to remove the muffins later and keep them from sticking.
Step 2: Mix Dry Ingredients
In a large bowl, whisk together the all-purpose flour, baking powder, and salt. This step is important because it helps distribute the baking powder evenly, ensuring your muffins rise beautifully. Set this bowl aside for now; we’ll come back to it shortly.
Step 3: Combine Wet Ingredients
In another large bowl, mix together the vegetable oil, light brown sugar, and peanut butter. Here’s a little tip: warming the peanut butter in the microwave for about 30 seconds makes it easier to blend. Once it’s smooth, you’re ready for the next step!
Step 4: Add Eggs and Buttermilk
Now, whisk in the eggs, vanilla extract, and buttermilk into the peanut butter mixture. This combination adds moisture and flavor to your muffins. Make sure everything is well combined; you want a smooth batter that’s full of nutty goodness!
Step 5: Combine Wet and Dry Ingredients
Make a well in the center of your dry ingredients and pour the wet mixture into it. Gently fold the two together using a spatula. Be careful not to overmix; a few lumps are perfectly fine. Overmixing can lead to dense muffins, and we want them fluffy!
Step 6: Add Chocolate Chips
Now it’s time to fold in about 3/4 cup of chocolate chips. These little gems add a delightful sweetness to your muffins. Save the remaining 1/4 cup for topping later. Trust me, it’s worth it!
Step 7: Fill Muffin Pan
Spoon the batter into the prepared muffin pan, filling each cup about 3/4 full. This allows room for the muffins to rise without overflowing. Top each muffin with a few extra chocolate chips for that irresistible look!
Step 8: Bake the Muffins
Place the muffin pan in the preheated oven and bake for 16-18 minutes. To check for doneness, insert a toothpick into the center of a muffin. If it comes out clean (except for melted chocolate), they’re ready to come out!
Step 9: Cool and Serve
Let the muffins cool in the pan for about 10 minutes. Then, carefully transfer them to a wire rack to cool completely. If you have leftovers, store them in an airtight container for up to three days. Enjoy your nutty breakfast idea with a cup of coffee or tea!

Tips for Success
- Always use room temperature ingredients for a smoother batter.
- Don’t skip the step of warming the peanut butter; it makes mixing easier.
- Be gentle when folding the wet and dry ingredients to keep muffins fluffy.
- Experiment with different mix-ins like nuts or dried fruit for variety.
- Store muffins in an airtight container to maintain freshness.
Equipment Needed
- Muffin pan: A standard 12-cup muffin pan works best, but you can use silicone molds for easy removal.
- Mixing bowls: Use at least two large bowls for mixing wet and dry ingredients.
- Whisk: A whisk helps combine ingredients smoothly; a fork can work in a pinch.
- Spatula: A rubber spatula is perfect for folding ingredients without overmixing.
- Measuring cups and spoons: Accurate measurements ensure perfect muffins every time.
Variations To Try
- Nutty Delight: Add chopped walnuts or pecans for an extra crunch and nutty flavor.
- Banana Peanut Butter Muffins: Mash in a ripe banana for natural sweetness and moisture.
- Gluten-Free Option: Substitute all-purpose flour with a gluten-free flour blend for a gluten-free treat.
- Peanut Butter and Jelly: Swirl in some fruit preserves before baking for a nostalgic twist.
- Protein Boost: Mix in a scoop of your favorite protein powder for a nutritious breakfast option.
Serving Suggestions
- Pair your peanut butter muffins with a dollop of Greek yogurt for added creaminess.
- Serve with fresh fruit like sliced bananas or berries for a colorful plate.
- Enjoy with a warm cup of coffee or a glass of cold milk.
- For a fun presentation, dust with powdered sugar before serving.
FAQs about Peanut Butter Muffins
Can I use natural peanut butter for these muffins?
It’s best to avoid natural peanut butter. It can change the texture of your muffins, making them denser. Stick to creamy peanut butter for the fluffiest peanut butter lovers’ muffins!
How do I store leftover muffins?
Store your fluffy peanut butter muffins in an airtight container at room temperature for up to three days. If you want to keep them longer, freeze them for up to three months!
Can I make these muffins ahead of time?
Absolutely! These nutty breakfast ideas are perfect for meal prep. You can bake them in advance and enjoy them throughout the week. Just reheat in the microwave for a quick breakfast!
What can I substitute for buttermilk?
If you don’t have buttermilk on hand, mix one cup of milk with a tablespoon of vinegar or lemon juice. Let it sit for a few minutes, and you’ll have a great substitute!
Can I add other mix-ins to the muffins?
Definitely! Feel free to get creative. You can add nuts, dried fruits, or even a swirl of jam for a fun twist on these peanut butter muffins.
Conclusion
These Peanut Butter Muffins are more than just a quick bake—they’re little moments of joy in muffin form. Fresh from the oven, they’re warm, fluffy, and filled with nutty goodness that makes mornings brighter. Perfect for breakfast, an afternoon snack, or even packed in a lunchbox, they’re a versatile treat everyone will love.
For cozy pairings, try serving them alongside slow cooker loaded baked potato soup or spice things up with a bowl of spicy sausage potato soup. Together, they create hearty, comforting meals that warm both the kitchen and the heart.
Did you enjoy this recipe? Save it on Pinterest so you can find it easily! And don’t forget to subscribe to my newsletter for weekly ideas for quick and delicious recipes.
