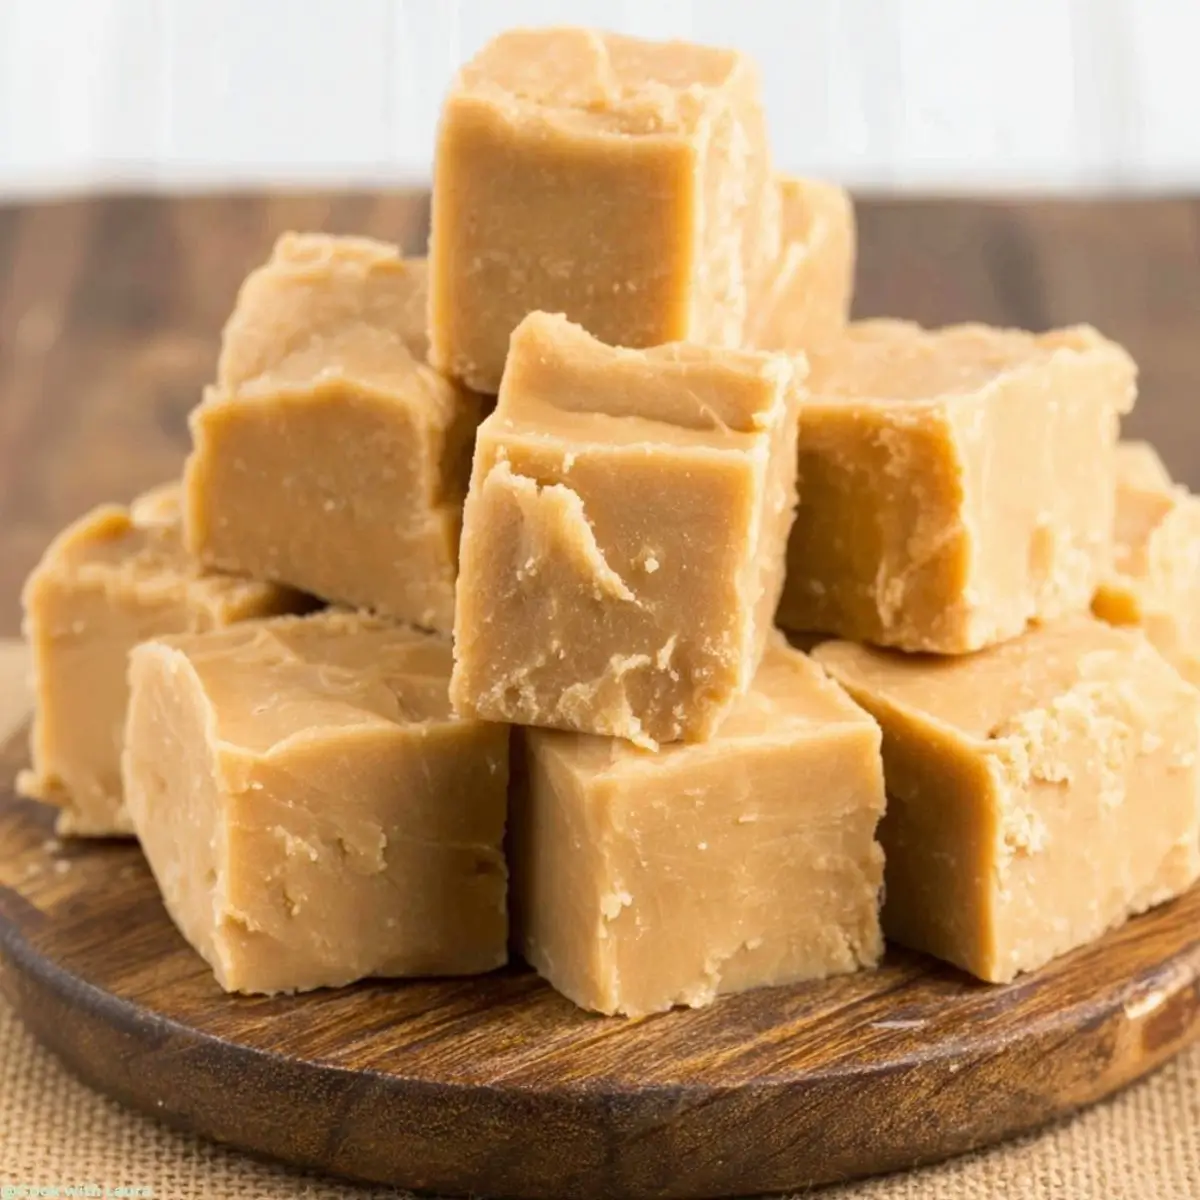
Craving something sweet but short on time? This easy peanut butter fudge is the perfect no-bake dessert to whip up in minutes! With its creamy texture, rich flavor, and melt-in-your-mouth goodness, this recipe makes an effortless homemade candy that feels indulgent without the fuss.
It’s perfect for holiday platters, edible gifts, or just a quick family treat. And if you love no-bake recipes, you’ll also enjoy my chewy no-bake peanut butter granola bars for a wholesome snack.
Why You’ll Love This Peanut Butter Fudge
- It’s a no-bake fudge recipe, saving you time and hassle.
- With just a few ingredients, you can whip up a delicious treat.
- This creamy peanut butter fudge is rich and satisfying, perfect for any sweet tooth.
- It’s a quick holiday candy that’s sure to impress family and friends.
- Homemade fudge squares make for a delightful gift or party favor!

Easy Peanut Butter Fudge Recipe for Irresistible Treats
- Total Time: 2-3 hours (including refrigeration)
- Yield: 16 pieces
- Diet: Vegetarian
Description
A simple and delicious recipe for creamy peanut butter fudge that requires no baking and is perfect for holiday treats.
Ingredients
- 12 ounces white chocolate chips
- 1.5 cups creamy peanut butter (do not use natural peanut butter)
- 1 can sweetened condensed milk (14 oz.)
Instructions
- Spray an 8X8 baking pan with cooking spray, then line the bottom with waxed paper or parchment paper.
- Place the white chocolate chips and peanut butter in a large microwave-safe mixing bowl.
- Heat in the microwave in 30-second intervals, stirring after each interval, until the mixture is melted, fully combined, and smooth.
- Stir in the sweetened condensed milk until fully combined.
- Pour the mixture into the prepared 8X8 baking dish.
- Refrigerate until the fudge is set (approximately 2-3 hours).
- Once the fudge is fully set, cut into pieces and serve!
Notes
- For best results, do not use natural peanut butter as it may affect the texture.
- This fudge can be stored in the refrigerator for up to two weeks.
- Feel free to add toppings like chopped nuts or chocolate drizzle for extra flavor.
- Prep Time: 10 minutes
- Cook Time: 0 minutes
- Category: Dessert
- Method: No-bake
- Cuisine: American
Ingredients for Peanut Butter Fudge
Gathering the right ingredients is the first step to creating your creamy peanut butter fudge. Here’s what you’ll need:
- White chocolate chips: These are the base of your fudge, providing sweetness and a smooth texture. They melt beautifully and blend perfectly with peanut butter.
- Creamy peanut butter: Make sure to use creamy peanut butter for that luscious, melt-in-your-mouth experience. Avoid natural peanut butter, as it can alter the texture of your fudge.
- Sweetened condensed milk: This ingredient adds richness and creaminess to your fudge. It helps bind everything together and enhances the overall flavor.

Feel free to get creative! You can add toppings like chopped nuts or a drizzle of chocolate for extra flair. If you’re looking for a nut-free version, consider using sun butter instead of peanut butter. For exact measurements, check the bottom of the article where you can find them available for printing.
How to Make Peanut Butter Fudge
Now that you have your ingredients ready, let’s dive into the fun part—making your creamy peanut butter fudge! This no-bake fudge recipe is simple and quick, perfect for busy days. Follow these steps, and you’ll have delicious fudge in no time!
Step 1: Prepare Your Baking Dish
Start by spraying an 8X8 baking pan with cooking spray. This will help prevent the fudge from sticking. Next, line the bottom with waxed paper or parchment paper. This little trick makes it super easy to lift the fudge out later. Trust me, you’ll thank yourself when it’s time to cut those homemade fudge squares!
Step 2: Melt the Chocolate and Peanut Butter
In a large microwave-safe mixing bowl, combine the white chocolate chips and creamy peanut butter. Heat the mixture in the microwave in 30-second intervals. After each interval, give it a good stir. This is crucial! Stirring helps ensure everything melts evenly and prevents burning. You want a smooth, velvety mixture that’s just begging to be turned into fudge.
Step 3: Combine with Sweetened Condensed Milk
Once your chocolate and peanut butter are melted and smooth, it’s time to add the sweetened condensed milk. Pour it in and mix until everything is fully combined. This step is key for achieving that creamy texture we all love in old-fashioned peanut butter fudge. The condensed milk adds richness and sweetness, making your fudge irresistible!
Step 4: Pour and Refrigerate
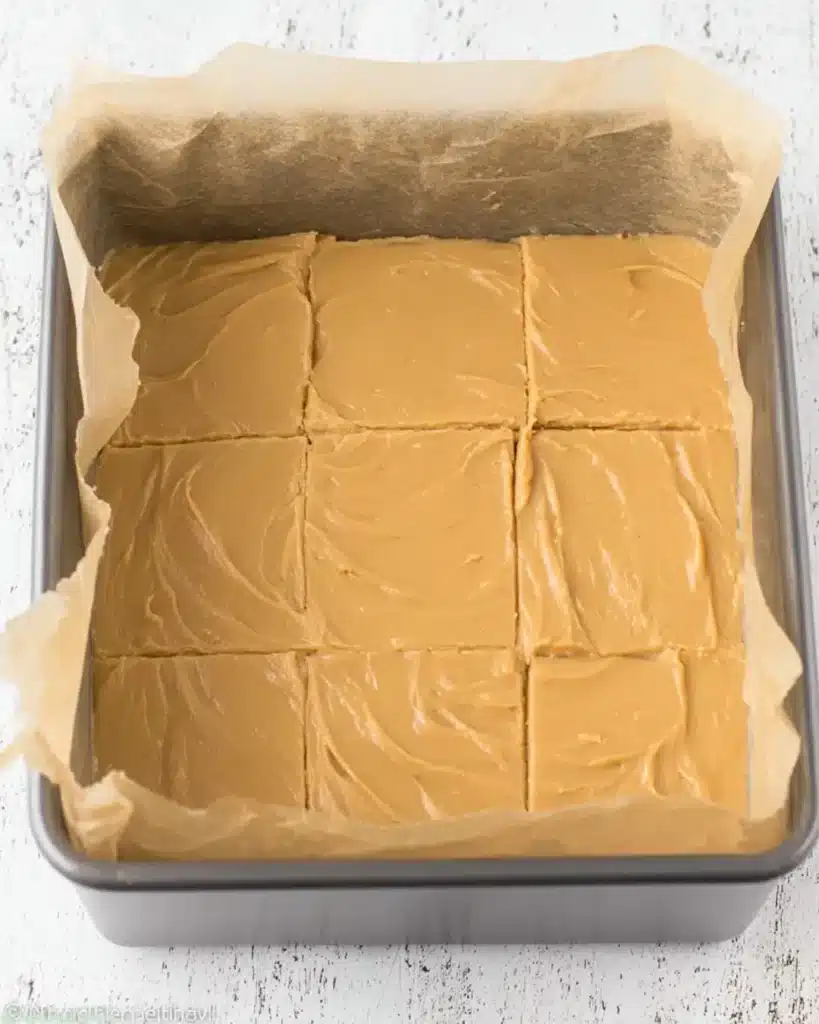
Now, pour the luscious mixture into your prepared baking dish. Spread it out evenly with a spatula. Once it’s all in the pan, pop it into the refrigerator. Let it chill for about 2-3 hours, or until it’s fully set. This is the hardest part—waiting! But trust me, the end result will be worth it.
Step 5: Cut and Serve
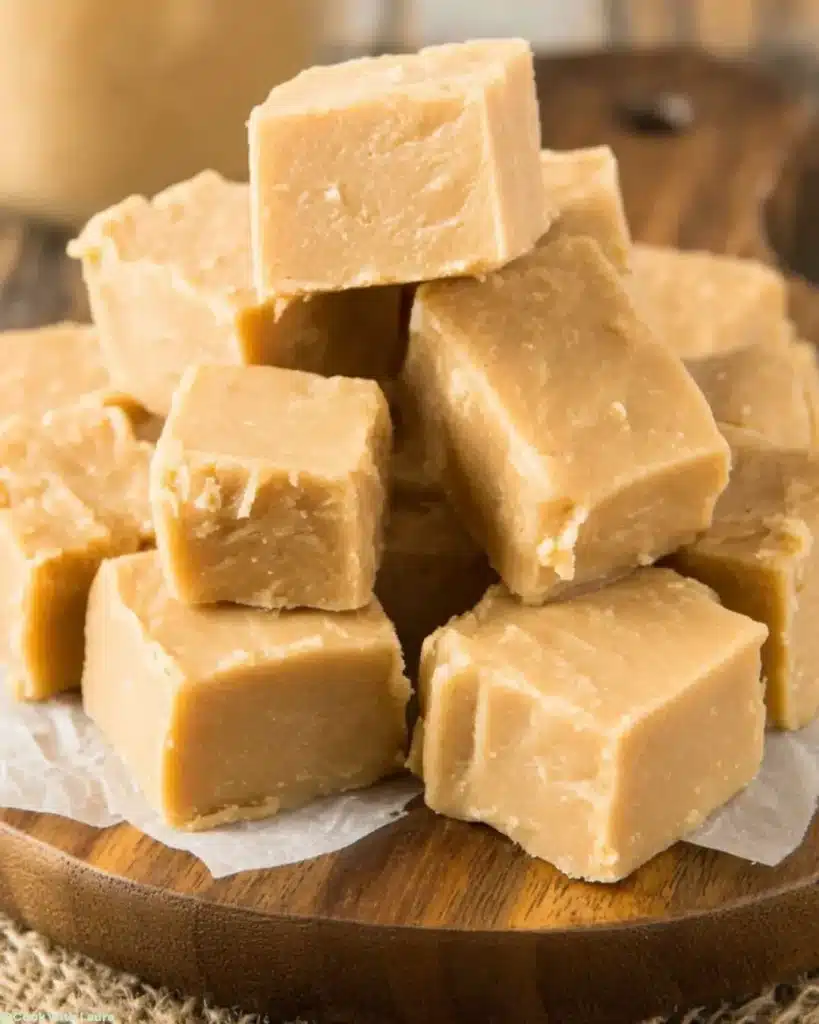
Once your fudge is set, it’s time for the fun part—cutting and serving! Lift the fudge out of the pan using the edges of the paper. Place it on a cutting board and slice it into squares. For a clean cut, use a sharp knife and wipe it between cuts. Serve your creamy peanut butter fudge as a delightful treat or gift it to friends and family. They’ll be begging for your easy fudge with condensed milk recipe!

Tips for Success
- Use a microwave-safe bowl to avoid any mishaps while melting.
- Stir the mixture thoroughly to ensure a smooth, creamy texture.
- For a fun twist, try adding a pinch of sea salt on top before refrigerating.
- Keep your fudge in an airtight container in the fridge for freshness.
- Experiment with different toppings like sprinkles or crushed cookies for added flair!
Equipment Needed
- 8X8 baking pan: A square pan is ideal, but you can use a similar-sized dish if needed.
- Microwave-safe mixing bowl: Any heat-resistant bowl will work, just ensure it’s large enough for mixing.
- Spatula: A rubber spatula is perfect for spreading the fudge evenly.
- Sharp knife: For cutting the fudge into neat squares.
Variations To Try
- Chocolate Peanut Butter Fudge: Swirl in some melted chocolate for a double chocolate delight. Just melt chocolate chips along with the peanut butter for a richer flavor.
- Nutty Fudge: Add chopped nuts like walnuts or pecans for a crunchy texture. This adds a delightful contrast to the creamy fudge.
- Vegan Option: Substitute the sweetened condensed milk with coconut cream and use dairy-free chocolate chips for a vegan-friendly treat.
- Mint Chocolate Fudge: Add a few drops of peppermint extract to the mixture for a refreshing twist. Top with crushed candy canes for a festive touch!
- Spiced Fudge: Mix in a dash of cinnamon or nutmeg for a warm, cozy flavor. This is perfect for the fall and winter months!
Serving Suggestions
- Pair your creamy peanut butter fudge with a glass of cold milk for a classic treat.
- Serve alongside fresh fruit like strawberries or bananas for a refreshing contrast.
- For a festive touch, arrange fudge squares on a decorative platter with colorful sprinkles.
- Wrap individual pieces in cellophane for a charming homemade gift.
FAQs about Peanut Butter Fudge
As you embark on your peanut butter fudge journey, you might have a few questions. Here are some common queries I’ve encountered, along with helpful answers to guide you!
Can I use natural peanut butter for this recipe?
It’s best to avoid natural peanut butter. It can change the texture of your creamy peanut butter fudge, making it less smooth and creamy. Stick to regular creamy peanut butter for the best results!
How long does homemade fudge last?
Your easy fudge with condensed milk can be stored in the refrigerator for up to two weeks. Just make sure to keep it in an airtight container to maintain its freshness!
Can I freeze peanut butter fudge?
Absolutely! You can freeze your old-fashioned peanut butter fudge for up to three months. Just wrap it tightly in plastic wrap and then place it in a freezer-safe container. Thaw it in the fridge before serving.
What can I add to my fudge for extra flavor?
Get creative! You can add toppings like chopped nuts, chocolate drizzle, or even a sprinkle of sea salt. These additions can elevate your homemade fudge squares to a whole new level!
Is this recipe suitable for a gluten-free diet?
Yes! This no-bake fudge recipe is naturally gluten-free, making it a great treat for those with gluten sensitivities. Just double-check your ingredients to ensure they are certified gluten-free.
Conclusion
This creamy peanut butter fudge is more than just a dessert—it’s a sweet little tradition waiting to happen. I love how quickly it comes together, making it ideal for last-minute holiday gifts or an easy weeknight treat. Each piece is smooth, rich, and filled with peanut butter flavor that delights both kids and adults.
For more peanut butter desserts, try my low-carb keto peanut butter cookies or my indulgent Crumbl Reese’s peanut butter cup cookies for cookie lovers.
So, grab your ingredients, mix up a batch, and share the sweetness with your loved ones. Did you enjoy this recipe? Save it on Pinterest so you can find it easily, and subscribe to my newsletter for weekly quick and delicious recipe ideas!
