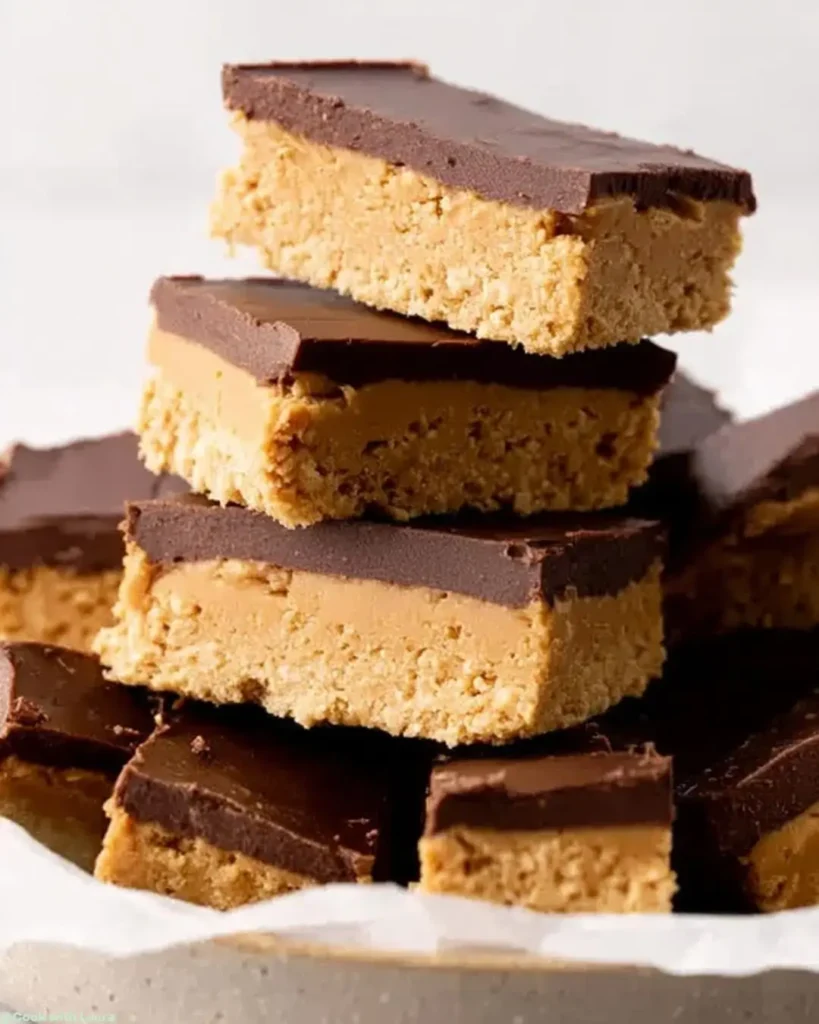
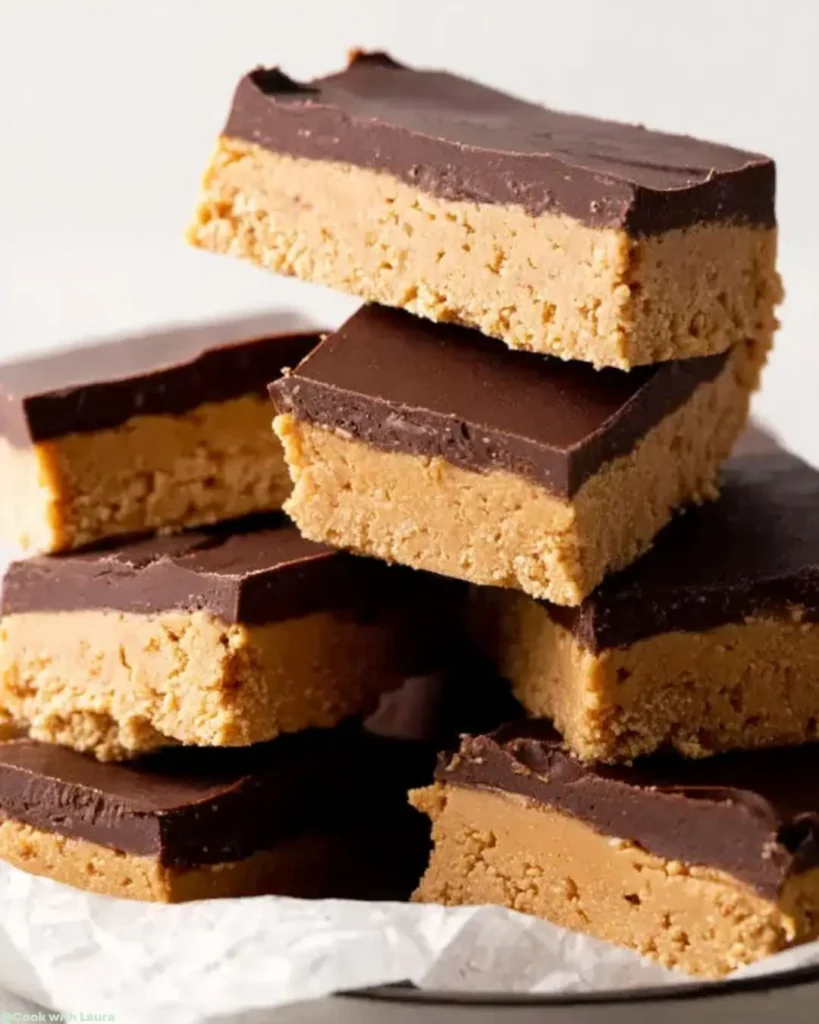
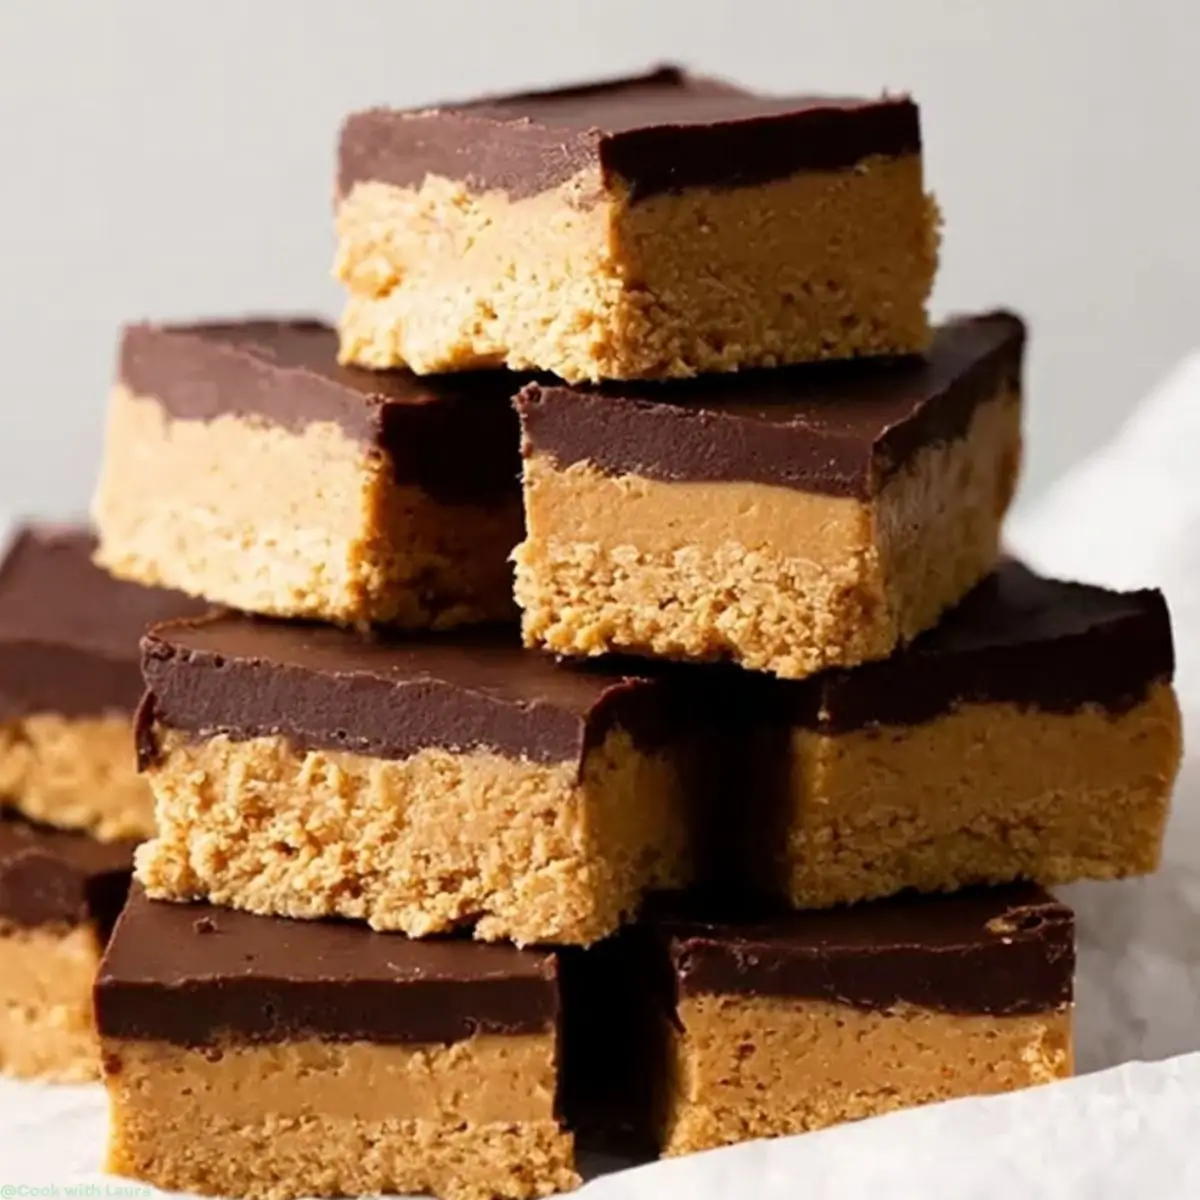
Craving something sweet but don’t have time to bake? These No-Bake Peanut Butter Chocolate Bars are the perfect treat! With a chewy peanut butter base and a rich chocolate topping, they strike the ideal balance of sweet and salty. Best of all, they come together in just minutes with a handful of simple ingredients.
Whether you’re making dessert for a family gathering or just need a quick fix for your sweet tooth, this recipe will become a go-to favorite. If you love easy peanut butter desserts, you’ll also want to try my peanut butter oatmeal cookies for another quick, crowd-pleasing snack.
Why You’ll Love This No-Bake Peanut Butter Chocolate Bars
- Quick and easy to make, perfect for busy days.
- No baking required, so you can skip the oven heat.
- Deliciously combines sweet and salty flavors that everyone loves.
- Great for satisfying cravings without a lot of fuss.
- Perfect for sharing at gatherings or enjoying as a family treat.

Easy No-Bake Peanut Butter Chocolate Bars Recipe
- Total Time: 1 hour 50 minutes
- Yield: 24 bars
- Diet: Vegetarian
Description
A delicious and easy recipe for no-bake peanut butter chocolate bars that combines sweet and salty flavors, perfect for a quick dessert.
Ingredients
- 1 cup (230 grams) unsalted butter (melted and slightly cooled)
- 1 cup (250 grams) creamy peanut butter
- 2 cups (240 grams) powdered sugar
- 2 cups (240 grams) graham cracker crumbs
- 1 (12-ounce) package semi-sweet chocolate chips
- 1/4 cup (65 grams) creamy peanut butter
Instructions
- Line a 9×13 baking pan with foil or parchment paper, leaving some overhang for easy removal, and set aside.
- Combine the melted butter and peanut butter in a large mixing bowl and mix until well combined.
- Add the powdered sugar and continue mixing until fully combined.
- Add the graham cracker crumbs, 1 cup at a time, and mix until fully combined.
- Scoop the peanut butter mixture into the prepared baking pan and press it down into one even layer. Set aside.
- Add the chocolate chips and 1/4 cup peanut butter to a microwave-safe bowl. Microwave in 20 to 30-second increments, stirring well after each increment, until completely melted and smooth.
- Pour the melted chocolate mixture on top of the peanut butter layer and spread it around into one even layer.
- Cover tightly and refrigerate for at least 1 and 1/2 hours or until the bars are firm and the chocolate topping is set.
- Once the bars are firm, lift them out of the pan using the overhang from the foil or parchment paper, slice, and enjoy!
Notes
- Make sure to let the bars cool completely before slicing for the best texture.
- These bars can be stored in the refrigerator for up to a week.
- For a variation, try adding chopped nuts or a sprinkle of sea salt on top of the chocolate layer.
- Prep Time: 20 minutes
- Cook Time: 0 minutes
- Category: Dessert
- Method: No-Bake
- Cuisine: American
Ingredients for No-Bake Peanut Butter Chocolate Bars
Gathering the right ingredients is the first step to creating these delightful No-Bake Peanut Butter Chocolate Bars. Here’s what you’ll need:
- Unsalted butter: This adds richness and helps bind the ingredients together. Make sure it’s melted and slightly cooled for the best texture.
- Creamy peanut butter: The star of the show! It provides that delicious nutty flavor and creamy texture. You can use natural or conventional peanut butter, depending on your preference.
- Powdered sugar: This sweetens the bars and gives them a smooth finish. It’s essential for that melt-in-your-mouth experience.
- Graham cracker crumbs: These add a delightful crunch and help form the base of the bars. You can crush your own or buy pre-made crumbs for convenience.
- Semi-sweet chocolate chips: These are used for the luscious chocolate topping. Feel free to swap them for dark chocolate if you prefer a richer flavor.
- Additional creamy peanut butter: This is mixed with the chocolate for a smooth topping. It enhances the peanut butter flavor and makes the chocolate even creamier.

For those who want to get creative, consider adding chopped nuts for extra crunch or a sprinkle of sea salt on top for a gourmet touch. You can find the exact quantities for each ingredient at the bottom of the article, ready for printing!
How to Make No-Bake Peanut Butter Chocolate Bars
Now that you have your ingredients ready, let’s dive into the fun part—making these delightful No-Bake Peanut Butter Chocolate Bars! Follow these simple steps, and you’ll have a sweet and salty treat that everyone will love.
Step 1: Prepare Your Baking Pan
Start by lining a 9×13 baking pan with foil or parchment paper. This makes it super easy to lift the bars out later. Just leave a little overhang on the sides. Trust me, this small step will save you a lot of hassle when it’s time to slice!
Step 2: Mix the Peanut Butter Base
In a large mixing bowl, combine the melted butter and creamy peanut butter. Use a spatula or a whisk to mix them together until they’re well blended. This step is crucial because it ensures that the flavors meld beautifully. You want a smooth, creamy base that’s ready for the next ingredients!
Step 3: Add the Sweetness
Next, it’s time to sweeten things up! Gradually add the powdered sugar to the peanut butter mixture. Mix it in until everything is fully combined. You’ll notice the mixture becoming thicker and more fudge-like. This is the magic of homemade Reese’s bars coming to life!
Step 4: Incorporate the Graham Cracker Crumbs
Now, let’s add the graham cracker crumbs. Do this one cup at a time, mixing well after each addition. This helps to evenly distribute the crumbs throughout the mixture. You want a nice, cohesive blend that holds together well. It’s like building a delicious foundation for your bars!
Step 5: Press the Mixture into the Pan
Once everything is mixed, scoop the peanut butter mixture into your prepared baking pan. Use your hands or a spatula to press it down into an even layer. Make sure it’s packed tightly so your bars hold their shape. This is where the magic starts to happen!
Step 6: Melt the Chocolate Topping
In a microwave-safe bowl, combine the semi-sweet chocolate chips and the additional creamy peanut butter. Microwave in 20 to 30-second increments, stirring well after each time. Keep going until the mixture is completely melted and smooth. This luscious chocolate topping is what makes these bars irresistible!
Step 7: Pour and Spread the Chocolate
Now, pour the melted chocolate mixture over the peanut butter layer in the pan. Use a spatula to spread it evenly across the top. This creates a beautiful, glossy finish that will have everyone drooling. Don’t be shy—make sure every corner is covered!
Step 8: Chill and Set
Cover the pan tightly and pop it in the refrigerator. Let the bars chill for at least 1 and 1/2 hours, or until they’re firm and the chocolate topping is set. This step is essential for achieving that perfect texture. Patience is key, my friends!
Step 9: Slice and Serve
Once the bars are firm, carefully lift them out of the pan using the overhang from the foil or parchment paper. Place them on a cutting board and slice them into squares. Enjoy these sweet and salty bars as a delightful treat for yourself or share them with family and friends!

Tips for Success
- Make sure your butter is melted but not too hot to avoid melting the peanut butter.
- For a smoother texture, sift the powdered sugar before adding it to the mixture.
- Press the peanut butter mixture firmly into the pan for well-formed bars.
- Let the bars chill completely for the best slicing results.
- Experiment with toppings like crushed nuts or a drizzle of caramel for extra flair!
Equipment Needed
- 9×13 baking pan: Essential for shaping your bars. A smaller pan can work too, just adjust the thickness.
- Mixing bowls: Use any size you have on hand. A large bowl is best for mixing everything together.
- Spatula or whisk: Perfect for blending ingredients smoothly. A wooden spoon can also do the trick!
- Microwave-safe bowl: Needed for melting chocolate. A glass bowl works great!
Variations To Try
- Nutty Delight: Add chopped nuts like almonds or walnuts to the peanut butter mixture for an extra crunch.
- Chocolate Drizzle: Drizzle melted white chocolate over the top for a beautiful contrast and added sweetness.
- Vegan Option: Substitute the butter with coconut oil and use dairy-free chocolate chips for a vegan-friendly treat.
- Flavor Infusion: Mix in a teaspoon of vanilla extract or a pinch of sea salt to enhance the flavor profile.
- Fruit Twist: Add dried fruits like cranberries or raisins for a chewy texture and a burst of flavor.
Serving Suggestions
- Pair these bars with a glass of cold milk for a classic treat.
- Serve alongside fresh fruit like strawberries or bananas for a refreshing contrast.
- For a fun presentation, cut the bars into fun shapes using cookie cutters.
- Top with a sprinkle of sea salt for an extra flavor boost.
FAQs about No-Bake Peanut Butter Chocolate Bars
Can I make these bars gluten-free?
Absolutely! Just use gluten-free graham crackers or substitute them with crushed gluten-free cookies. You’ll still get that delightful crunch!
How long do these no-bake bars last?
These sweet and salty bars can be stored in the refrigerator for up to a week. Just make sure they’re covered tightly to keep them fresh!
Can I freeze No-Bake Peanut Butter Chocolate Bars?
Yes, you can! Wrap them tightly in plastic wrap and then in foil. They’ll stay good in the freezer for up to three months. Just thaw them in the fridge before serving.
What can I use instead of peanut butter?
If you have nut allergies, try using sunflower seed butter or almond butter. They’ll give you a similar creamy texture and flavor!
Can I add other toppings to these bars?
Definitely! Feel free to sprinkle on some chopped nuts, mini chocolate chips, or even a drizzle of caramel for an extra special touch. The possibilities are endless!
Conclusion
These No-Bake Peanut Butter Chocolate Bars are proof that simple ingredients can create unforgettable desserts. With their creamy peanut butter layer and smooth chocolate finish, they’re a guaranteed hit at parties, bake sales, or even as a late-night indulgence.
For more easy no-bake inspiration, check out my chewy peanut butter oatmeal chocolate chip banana bars or my indulgent easy peanut butter fudge. Each one is quick, delicious, and perfect for busy days.
So grab your ingredients, whip up a batch, and share them with your loved ones. Did you enjoy this recipe? Save it on Pinterest so you can find it easily, and subscribe to my newsletter for weekly ideas for quick and delicious recipes!
